
Who doesn’t love the sensation of freshly pampered toes? Nonetheless, between busy schedules and the rising price of salon visits, typically getting that excellent pedicure seems like a luxurious that simply can’t be squeezed in. This information is right here to inform you that you simply completely can obtain salon-worthy outcomes proper within the consolation of your individual house. Studying learn how to do an at-home pedicure just isn’t solely a unbelievable act of self-care but additionally a savvy technique to maintain your toes trying fabulous with out breaking the financial institution. Neglect the fuss; mastering your individual at-home pedicure is simpler than you assume, and your toes will thanks for it!
Get Able to Calm down: Merchandise & Instruments for Your At-House Pedicure Oasis
We need to be clear with you about how we earn money. This web site makes use of affiliate hyperlinks. Which means that in case you click on on an affiliate hyperlink and make a purchase order, we might obtain a fee from the retailer. This fee comes at no further price to you
Earlier than we dive into the nitty-gritty, let’s collect every little thing you want. Consider this as organising your private foot spa. You probably have already got most of these things, but when not, they are often simply discovered at your native drugstore or magnificence provide retailer.
Picture Credit score:
walmart.com
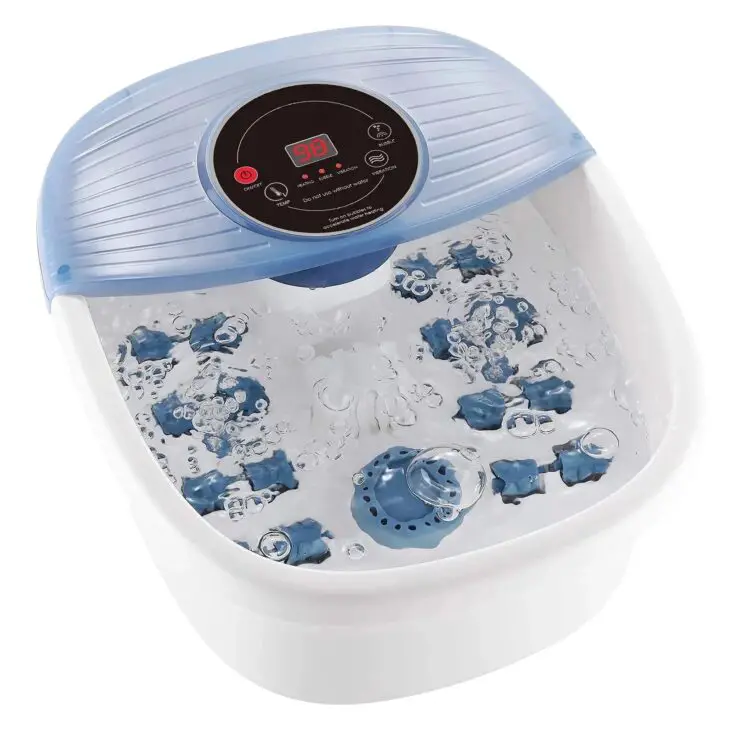
No want for something fancy; a clear bucket or perhaps a bathtub will do! That is the place toes will get their much-deserved soak.
Picture Credit score:
walmart.com
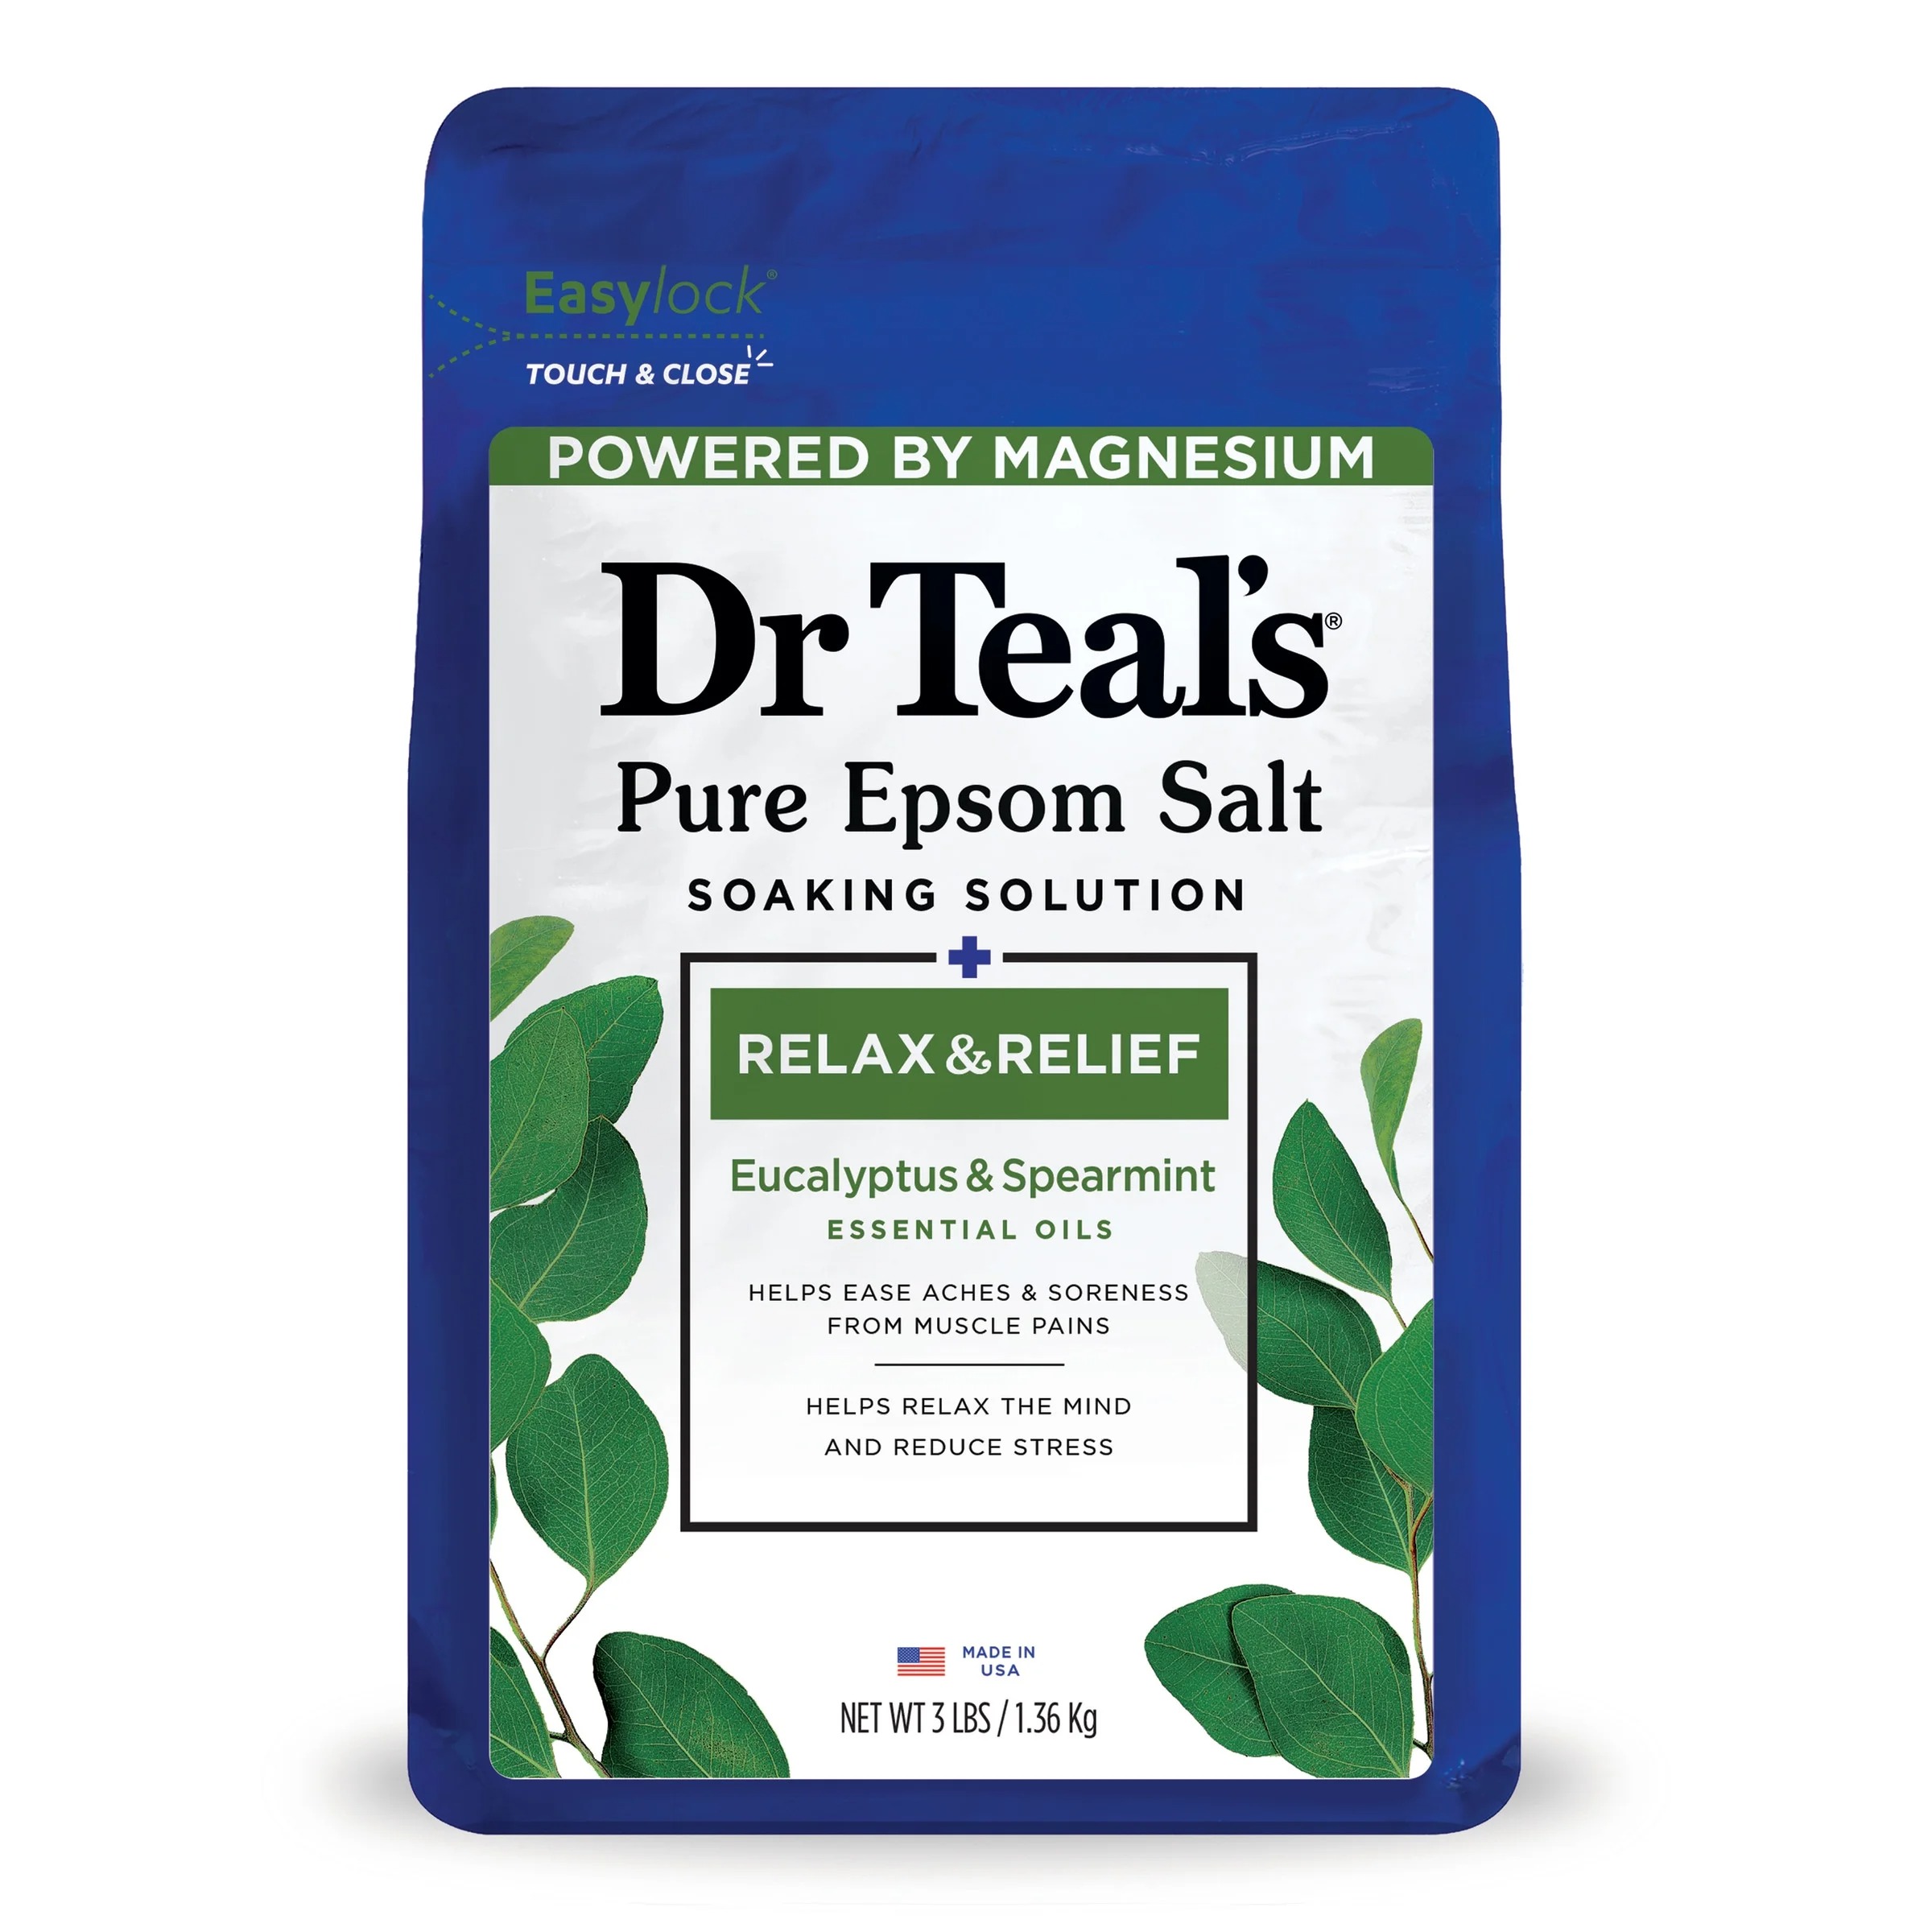
Epsom salts are magical for stress-free drained muscle tissue and softening pores and skin. For an additional contact, a enjoyable tub bomb designed for toes can add a beautiful aroma and champagne.
Picture Credit score:
www.ulta.com
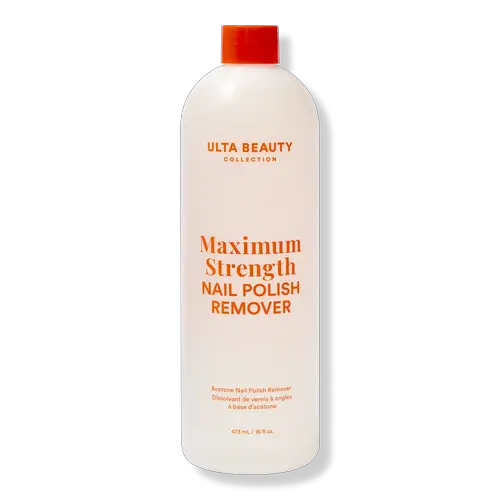
Be sure to clear your nails off earlier than getting began.
Picture Credit score:
www.ulta.com
At all times begin with a clear slate!

Picture Credit score:
www.ulta.com
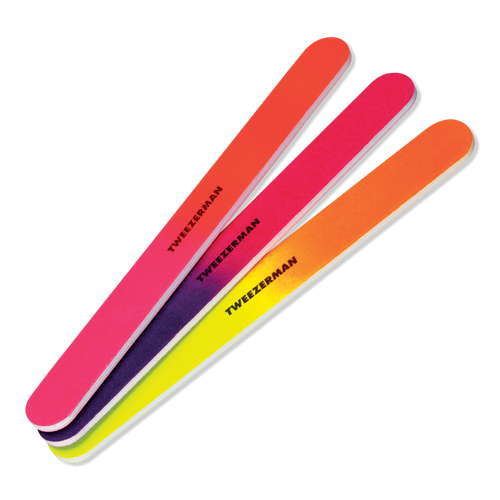
Important for shaping and sustaining wholesome nails. Bear in mind to clip straight throughout to forestall ingrown nails.
Picture Credit score:
www.ulta.com
Do not forget to form these nails gal!
Picture Credit score:
www.ulta.com
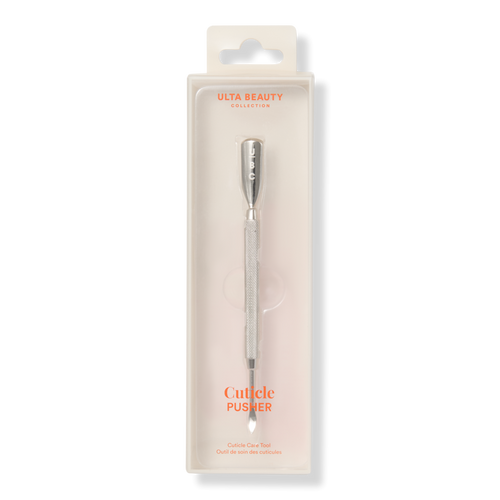
A mild pusher (orange stick or rubber-tipped) is nice for tidying cuticles. Solely use nippers if skilled and solely on hangnails – by no means reduce stay cuticle!
Picture Credit score:
www.ulta.com
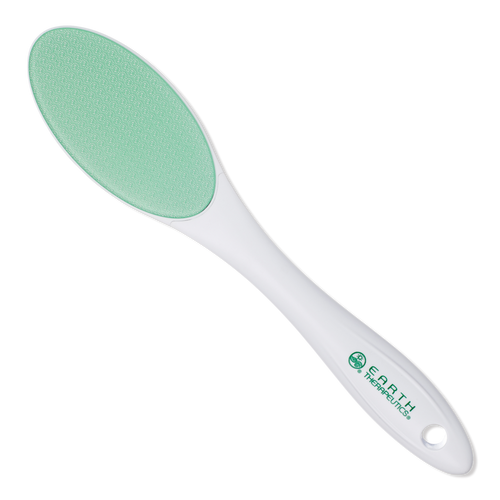
A secret weapon for tackling dry, tough patches and calluses. Search for one with an excellent grip.
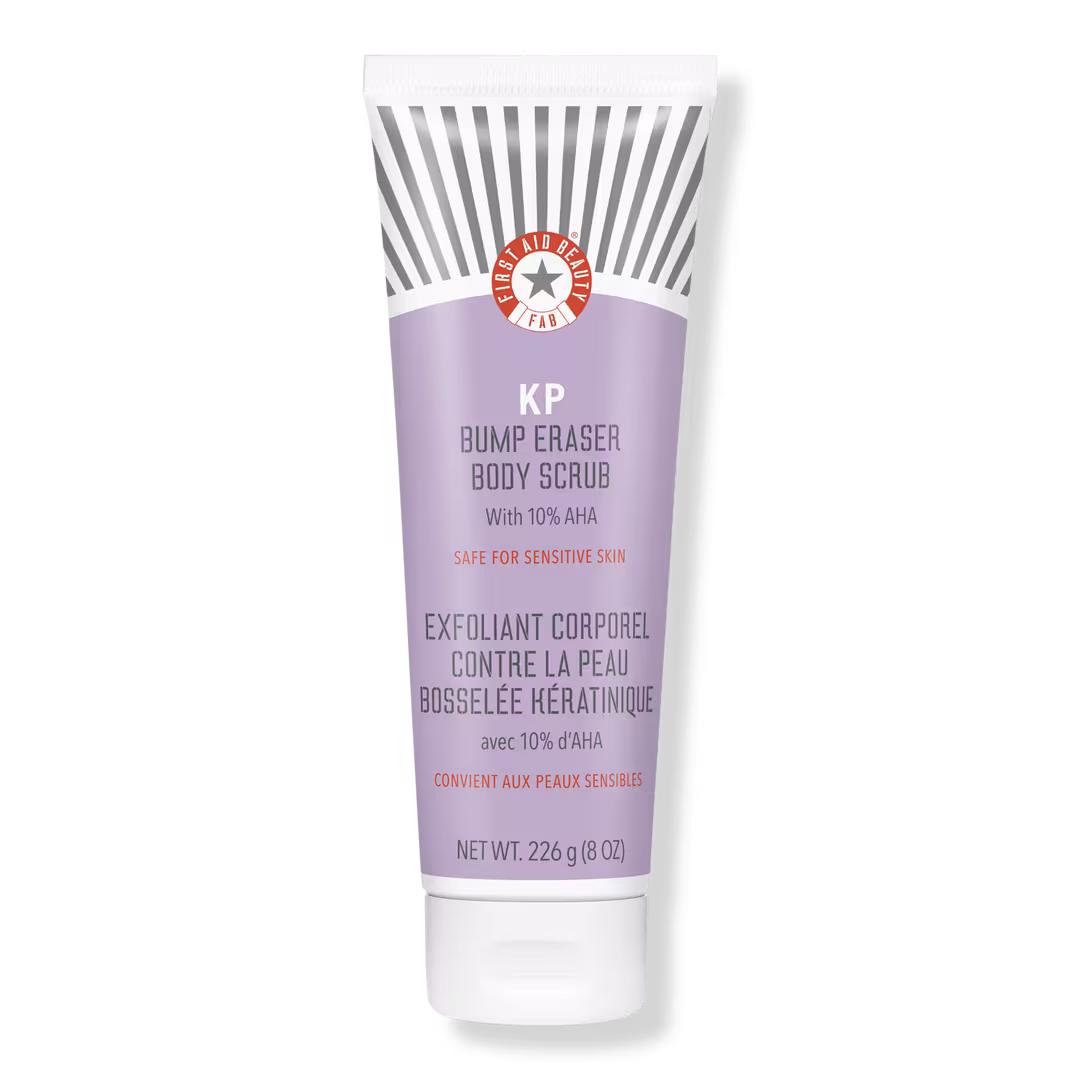
Say goodbye to useless pores and skin! scrub will go away toes feeling extremely clean. One may even whip up a DIY sugar scrub.
Picture Credit score:
www.ulta.com
Hydration is vital! A wealthy cream will seal in all that goodness.

Picture Credit score:
walmart.com
Non-obligatory however Really helpful! These make sharpening a lot simpler and mess-free.
Picture Credit score:
www.ulta.com
Begin your portray sesh with a base coat!
Picture Credit score:
www.ulta.com
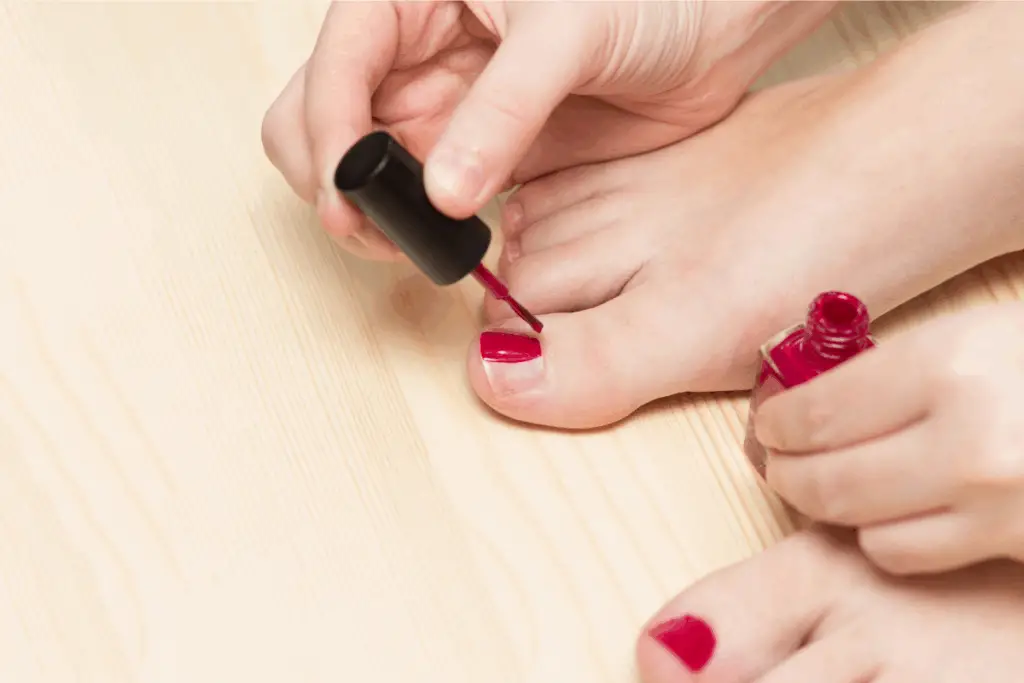
Choose your favourite shade!
Picture Credit score:
www.ulta.com
End off with a high coat!
Mastering Your At-House Pedicure: A Step-by-Step Information
Now that you simply’ve received every little thing laid out like a professional, let’s stroll by the steps to get these toes feeling and looking out unbelievable. This at-home pedicure routine is designed to be stress-free and efficient!
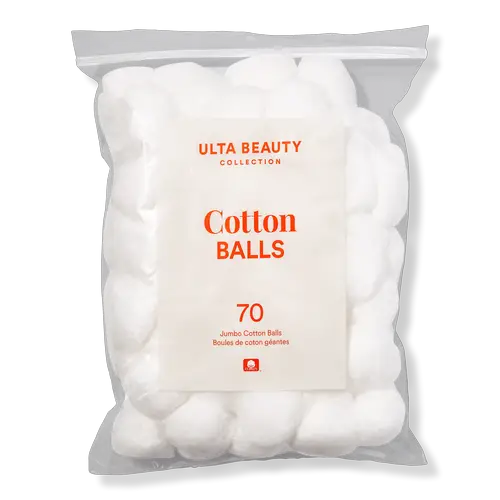
Step 1: Prep Your Toes (The Clear Slate) Begin by eradicating any previous nail polish along with your remover and cotton balls. This provides you a recent canvas to work with.
Step 2: The Soothing Soak Fill your basin or foot spa with heat (not scalding!) water. Add a beneficiant handful of Epsom salts or drop in your foot tub bomb. Submerge your toes and allow them to soak for 10-Quarter-hour. This step is essential for softening pores and skin and nails, making subsequent steps a lot simpler. Mild a candle, placed on some music – that is your second!
Step 3: Trim & Form (Nail TLC) After soaking, pat your toes dry with a small towel. Utilizing your nail clippers, rigorously trim your toenails, following the pure form of your toenails. Then, gently file the sides to clean them out and obtain your required form.
Step 4: Cuticle Care (Be Light, Sis!) With a cuticle pusher, gently push again your softened cuticles. Bear in mind, cuticles shield your nails, so be tremendous mild.
Step 5: Exfoliate and Easy (Hi there, Mushy Pores and skin!) That is the place your foot file or pumice stone is available in. Gently buff away any tough spots, particularly in your heels and the balls of your toes. Observe up along with your exfoliating foot scrub. Therapeutic massage it onto your toes and ankles in round motions to slough off useless pores and skin cells. Rinse completely. Your toes ought to really feel extremely clean now!
Step 6: Hydrate & Therapeutic massage (The Greatest Half!) Pat your toes dry once more. Now, generously apply your moisturizing foot cream or lotion. Take your time to essentially therapeutic massage it into your toes, ankles, and even up your calves. This step isn’t just about hydration; it’s about stimulating circulation and giving your self a mini spa therapy.
Step 7: Polish Perfection (The Grand Finale) For those who’re planning to shine, ensure your nails are fully dry and freed from any lotion residue (you’ll be able to shortly wipe them with a little bit of nail polish remover). Place your toe separators between your toes. Apply a skinny layer of base coat, adopted by two skinny coats of your chosen nail polish shade, permitting every coat to dry for a minute or two in between. End with a layer of high coat for shine and safety. Let your nails dry fully earlier than shifting round an excessive amount of – endurance is vital right here!
Professional-Ideas for Lasting Outcomes & Completely happy Toes

- Regularity is Key: Goal for an at-home pedicure each 2-4 weeks to maintain your toes constantly completely satisfied.
- Moisturize Every day: Even between pedicures, maintain these toes hydrated with an excellent foot cream.
- Put on Correct Footwear: Comfy, supportive footwear could make an enormous distinction in foot well being.
- Don’t Neglect Sunscreen: In case your toes are uncovered, shield them from the solar!
There you’ve it! Your very personal at-home pedicure information. You’ve received the facility to pamper your self everytime you want it, saving money and time whereas protecting these toes completely polished. So go forward, kick off your footwear, embrace self-care, and let your beautiful toes shine!
What’s your favourite a part of the at-home pedicure? Tell us within the feedback!